Pack N Protect Logo
Official Guide

Collectible Box
Assembly Instructions

Building this solid box is quick and intuitive. Follow the steps below to connect all elements correctly.

Preparation

Step 0: Inventory

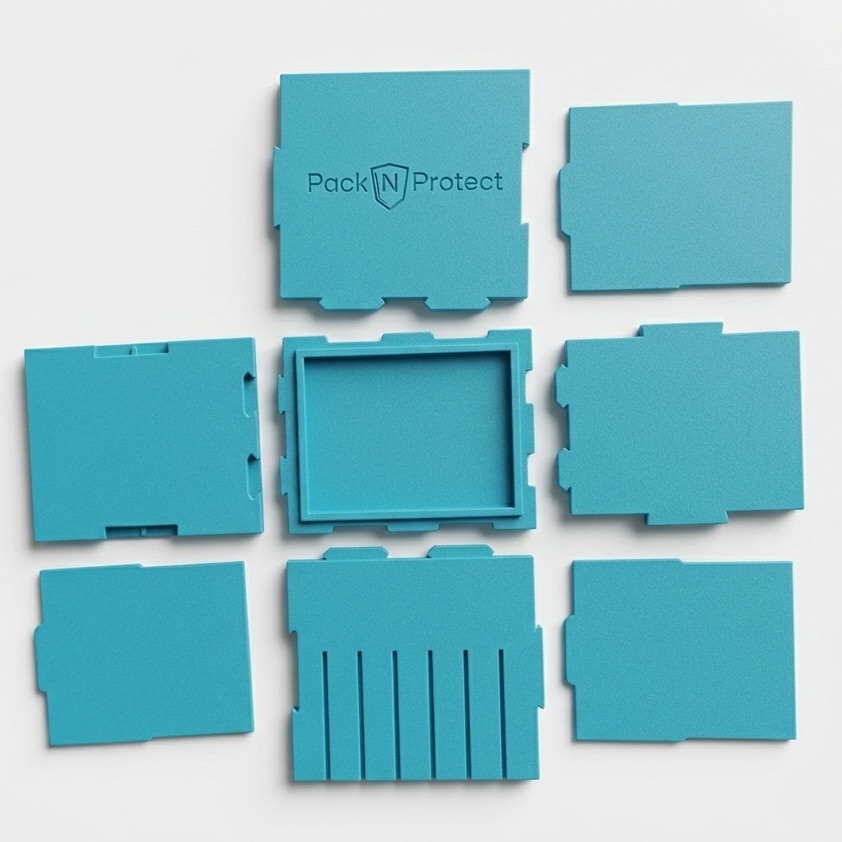
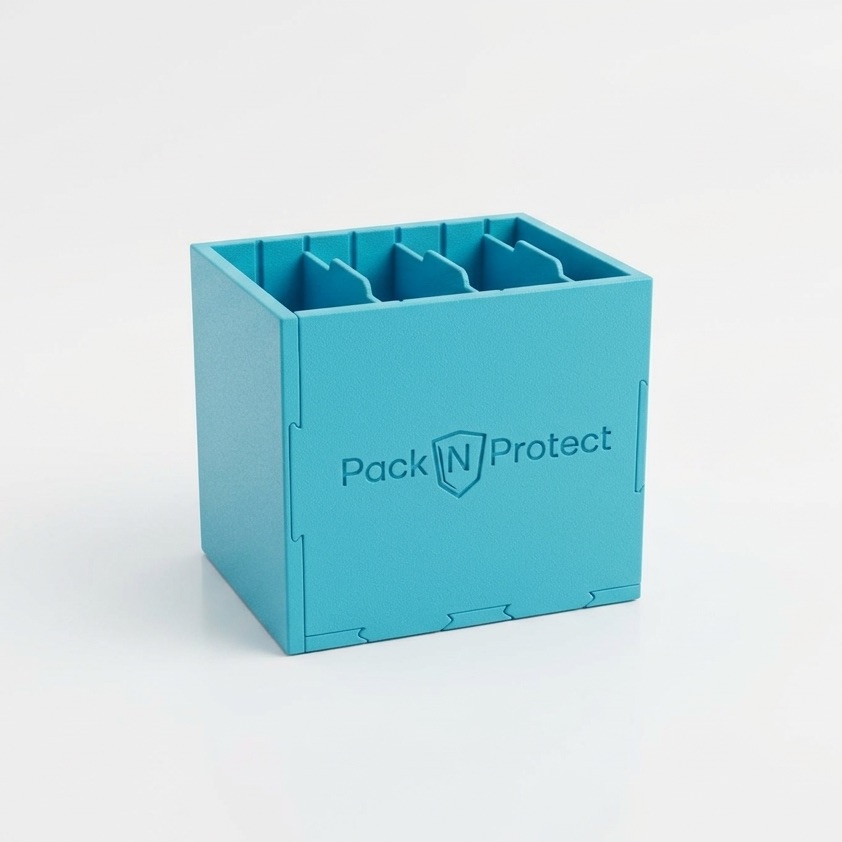
Before you begin, check if you have all 8 elements:

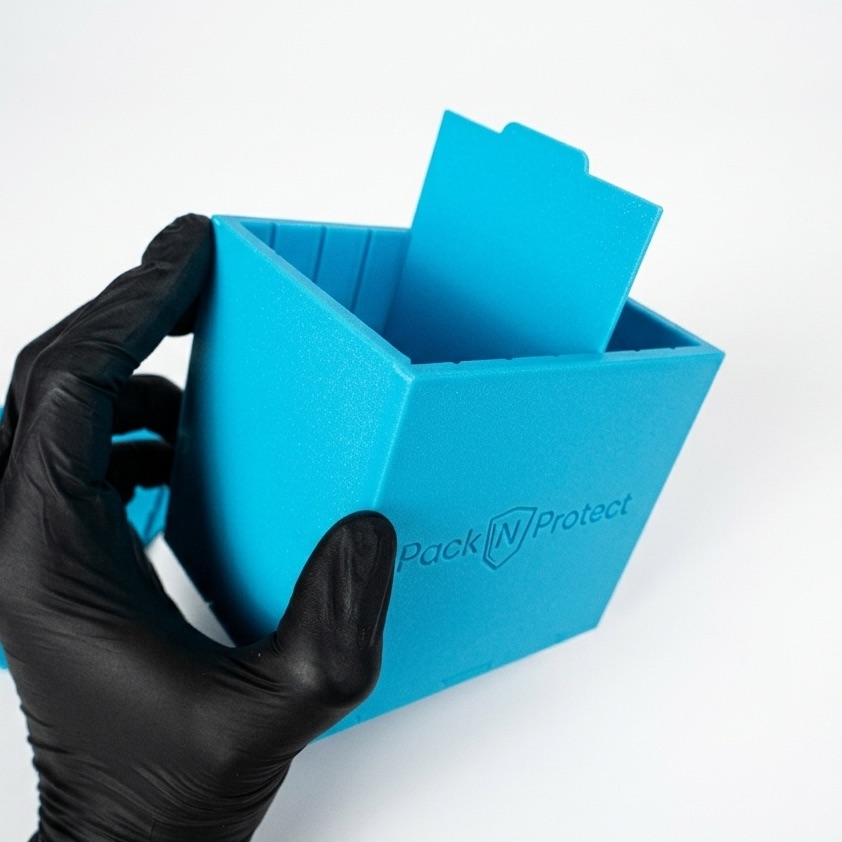
  • 1 Base: Protruding rectangular edge.
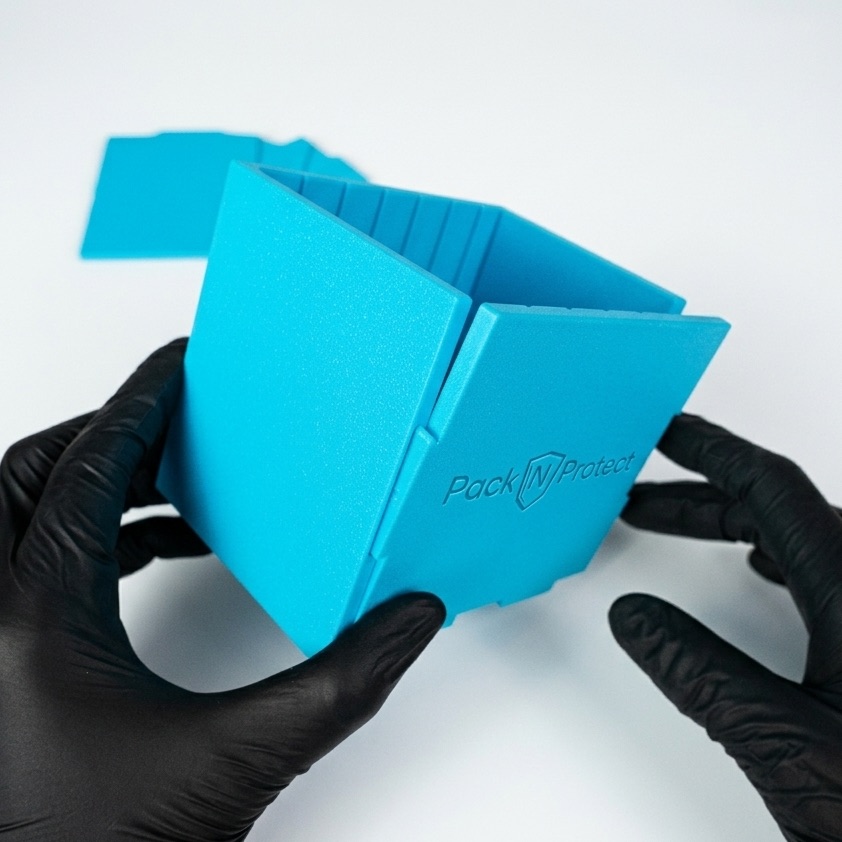
  • 2 Side panels: Feature the logo.
  • 2 Shorter panels: Mounting tabs.
  • 3 Dividers: Smallest parts.
Parts
Base

Step 1: Preparing the Base

Place the Base on a flat surface. Ensure the textured surface faces DOWN.

Base
Assembly

Step 2: First connection

Connect the base with a shorter panel. Press firmly.

Step 2
Assembly

Step 3: Second shorter panel

Repeat on the opposite side to create a "U" shape.

Step 3
Precision

Step 4: Aligning the side

Fit the side panel (with logo) into the slots loosely.

Step 4
Snap

Step 5: Press and "CLICK"

Press firmly with your thumbs until you hear a "click".

Step 5
Closing

Step 6: Second side panel

Repeat steps 4 and 5 with the other side panel.

Step 6
Organization

Step 7: Inserting dividers

Slide dividers in all the way to the bottom.

Step 7

Complete!

Your Pack N Protect box is assembled and ready.

Finished box